Sync Port services to incident.io
This guide includes steps that require integration with GitHub:
- GitHub (Ocean) - uses the Ocean framework. We strongly recommend this integration for new and migrated setups.
- GitHub (Sunset) - uses a GitHub app that is in sunset and will be fully deprecated on September 15, 2026.
This guide demonstrates how to sync service entities from Port into incident.io's catalog, ensuring better visibility and context for your services during incident management.
You can use either of these methods:
- catalog-importer (recommended): incident.io's official CLI tool, designed to run as part of CI/CD or on a cronjob. It syncs structured data from Port (and other sources) into the incident.io catalog.
- Custom GitHub workflow: A GitHub Actions workflow that fetches entities from Port and pushes them to incident.io via their API.
Prerequisites
- Complete the onboarding process.
- An incident.io account with admin access to create API keys.
- A
Serviceblueprint in Port to represent the service entities you want to sync to incident.io. You should already have one installed during the onboarding process. - For the custom GitHub workflow: A GitHub repository and Port's GitHub Ocean integration installed in your account.
You need admin access to your incident.io organization to create API keys. If you don't have admin access, contact your incident.io administrator to create the API key for you.
Setup
- Catalog Importer
- Custom GitHub workflow
The catalog-importer is incident.io's official tool for syncing catalog data. It is designed to run as part of CI/CD or on a cronjob and supports multiple data sources, including Port.
Install catalog-importer
macOS (Homebrew):
brew tap incident-io/homebrew-taps
brew install catalog-importer
Other platforms:
Install from the releases page or run:
go install -v github.com/incident-io/catalog-importer/v2/cmd/catalog-importer@latest
Set up API keys
Create an incident.io API key with permissions to view and manage catalog types and entries. Set:
export INCIDENT_API_KEY="your-incident-io-api-key"
For Port, use your Port credentials:
export PORT_CLIENT_ID="your-port-client-id"
export PORT_CLIENT_SECRET="your-port-client-secret"
The port_region, port.baseUrl, portBaseUrl, port_base_url and OCEAN__PORT__BASE_URL parameters select which Port API instance to use:
- EU (app.port.io) →
https://api.port.io - US (app.us.port.io) →
https://api.us.port.io
Create the fetch script
Create fetch-from-port.sh to fetch entities from Port and output JSON for the catalog-importer:
#!/bin/bash
set -e

PORT_BASE_URL="${PORT_BASE_URL:-https://api.port.io}"
BLUEPRINT_ID="${BLUEPRINT_ID:-service}"

TOKEN=$(curl -s -X POST "${PORT_BASE_URL}/v1/auth/access_token" \
  -H "Content-Type: application/json" \
  -d "{\"clientId\": \"$PORT_CLIENT_ID\", \"clientSecret\": \"$PORT_CLIENT_SECRET\"}" \
  | jq -r '.accessToken')

curl -s -X GET "${PORT_BASE_URL}/v1/blueprints/${BLUEPRINT_ID}/entities" \
  -H "Authorization: Bearer $TOKEN" \
  -H "Content-Type: application/json" \
  | jq '[.entities[] | {
      external_id: .identifier,
      name: .title,
      url: .properties.url // "",
      readme: .properties.readme // "",
      language: .properties.language // "",
      lifecycle: .properties.lifecycle // "",
      type: .properties.type // ""
    }]'
Create the importer config
Create importer.jsonnet. The catalog-importer creates the catalog type automatically on first sync.
Ensure the attribute IDs in the config (url, readme, etc.) match the property names in your Port Service blueprint.
{
  sync_id: 'port-services',

  pipelines: [
    {
      sources: [
        {
          exec: {
            command: ['bash', 'fetch-from-port.sh'],
          },
        },
      ],
      outputs: [
        {
          name: 'Port Services',
          description: 'Services entities synced from Port',
          type_name: 'Custom["PortServices"]',
          categories: ['service'],
          source: {
            external_id: '$.external_id',
            name: '$.name',
          },
          attributes: [
            { id: 'url', name: 'URL', type: 'String', source: '$.url' },
            { id: 'readme', name: 'Readme', type: 'Text', source: '$.readme' },
            { id: 'language', name: 'Language', type: 'String', source: '$.language' },
            { id: 'lifecycle', name: 'Lifecycle', type: 'String', source: '$.lifecycle' },
            { id: 'type', name: 'Type', type: 'String', source: '$.type' },
          ],
        },
      ],
    },
  ],
}
For full configuration options, see the catalog-importer config reference.
Validate and sync
catalog-importer validate --config=importer.jsonnet
catalog-importer sync --config=importer.jsonnet --dry-run
catalog-importer sync --config=importer.jsonnet
Run in CI/CD
You can run the catalog-importer in GitHub Actions using the Docker image:
name: Sync Port to incident.io

on:
  schedule:
    - cron: "0 */2 * * *"
  workflow_dispatch:

jobs:
  sync:
    runs-on: ubuntu-latest
    steps:
      - uses: actions/checkout@v6
      - name: Sync catalog
        run: |
          docker run --rm \
            -v ${{ github.workspace }}/incident-io:/config \
            -w /config \
            -e INCIDENT_API_KEY=${{ secrets.INCIDENT_API_KEY }} \
            -e PORT_CLIENT_ID=${{ secrets.PORT_CLIENT_ID }} \
            -e PORT_CLIENT_SECRET=${{ secrets.PORT_CLIENT_SECRET }} \
            incidentio/catalog-importer:latest \
            sync --config importer.jsonnet
Store your config and fetch-from-port.sh in an incident-io directory in your repo. For Port's EU region, add -e PORT_BASE_URL=https://api.port.io to the docker run command.
For more details, see the catalog-importer documentation.
This method uses a GitHub Actions workflow that fetches entities from Port and pushes them to incident.io via their API.
Set up required secrets and permissions
In your GitHub repository, add these secrets:
PORT_CLIENT_ID- Port client ID learn more.PORT_CLIENT_SECRET- Port client secret learn more.INCIDENT_IO_API_KEY- API key with permissions to manage catalog types and view catalog entries.INCIDENT_IO_CATALOG_TYPE_ID- Incident.io catalog type ID from Create a catalog type in incident.io.
Create a catalog type in incident.io
To sync your Port services into incident.io, you first need to create a catalog type in incident.io. Follow the steps below:
-
Log in to your incident.io account.
-
Click Catalog on the left navigation bar.
-
Click add a custom type.
-
Fill in the following details:
- Name: a suitable name such as
Port Services - Description: Provide a description for the catalog type
- Under Categories, select
Servicesfrom the list - Under Attributes, add the following columns to reflect the properties of your Port
Serviceblueprint:url: Selectstringas the data typereadme: Selectrich textas the data typelanguage: Selectstringas the data typelifecycle: Selectstringas the data typetype: Selectstringas the data type
- Name: a suitable name such as
-
Save the changes by clicking the Save button.
-
Once successful, click on the newly created type and take note of the ID from the browser's URL. For example, the ID might be something like
01J5RB95K5NNDE1CRQ7ZQ24YH5for this browser URL (https://app.incident.io/organization/catalog/01J5RB95K5NNDE1CRQ7ZQ24YH5). -
Create a GitHub secret (
INCIDENT_IO_CATALOG_TYPE_ID) in the repository with the value of this ID.
Create GitHub workflow
- Create a GitHub repository (or use an existing one).
- Create a
.githubdirectory andworkflowssubdirectory.
Inside the Make sure the property names in your Port Service blueprint match the attribute names in your incident.io catalog type. The workflow maps these properties: If you have different property names, update the mapping in step 4 of the workflow. The .github/workflows directory create a file called sync-port-services-to-incident-io.yml with the following content:GitHub workflow configuration (click to expand)
url → url attributereadme → readme attributelanguage → language attributelifecycle → lifecycle attributetype → type attributeport_region, port.baseUrl, portBaseUrl, port_base_url and OCEAN__PORT__BASE_URL parameters select which Port API instance to use:
https://api.port.iohttps://api.us.port.io
Let's test it!
-
Manual Testing: Go to your GitHub repository's Actions tab and manually trigger the
Sync Data to incident.ioworkflow to test it immediately. -
Check the logs: Review the workflow logs to ensure all entities are being synced successfully.
-
Verify in incident.io:
-
Log in to your incident.io account.
-
Navigate to the Catalog section in the left navigation bar.
-
Search for the
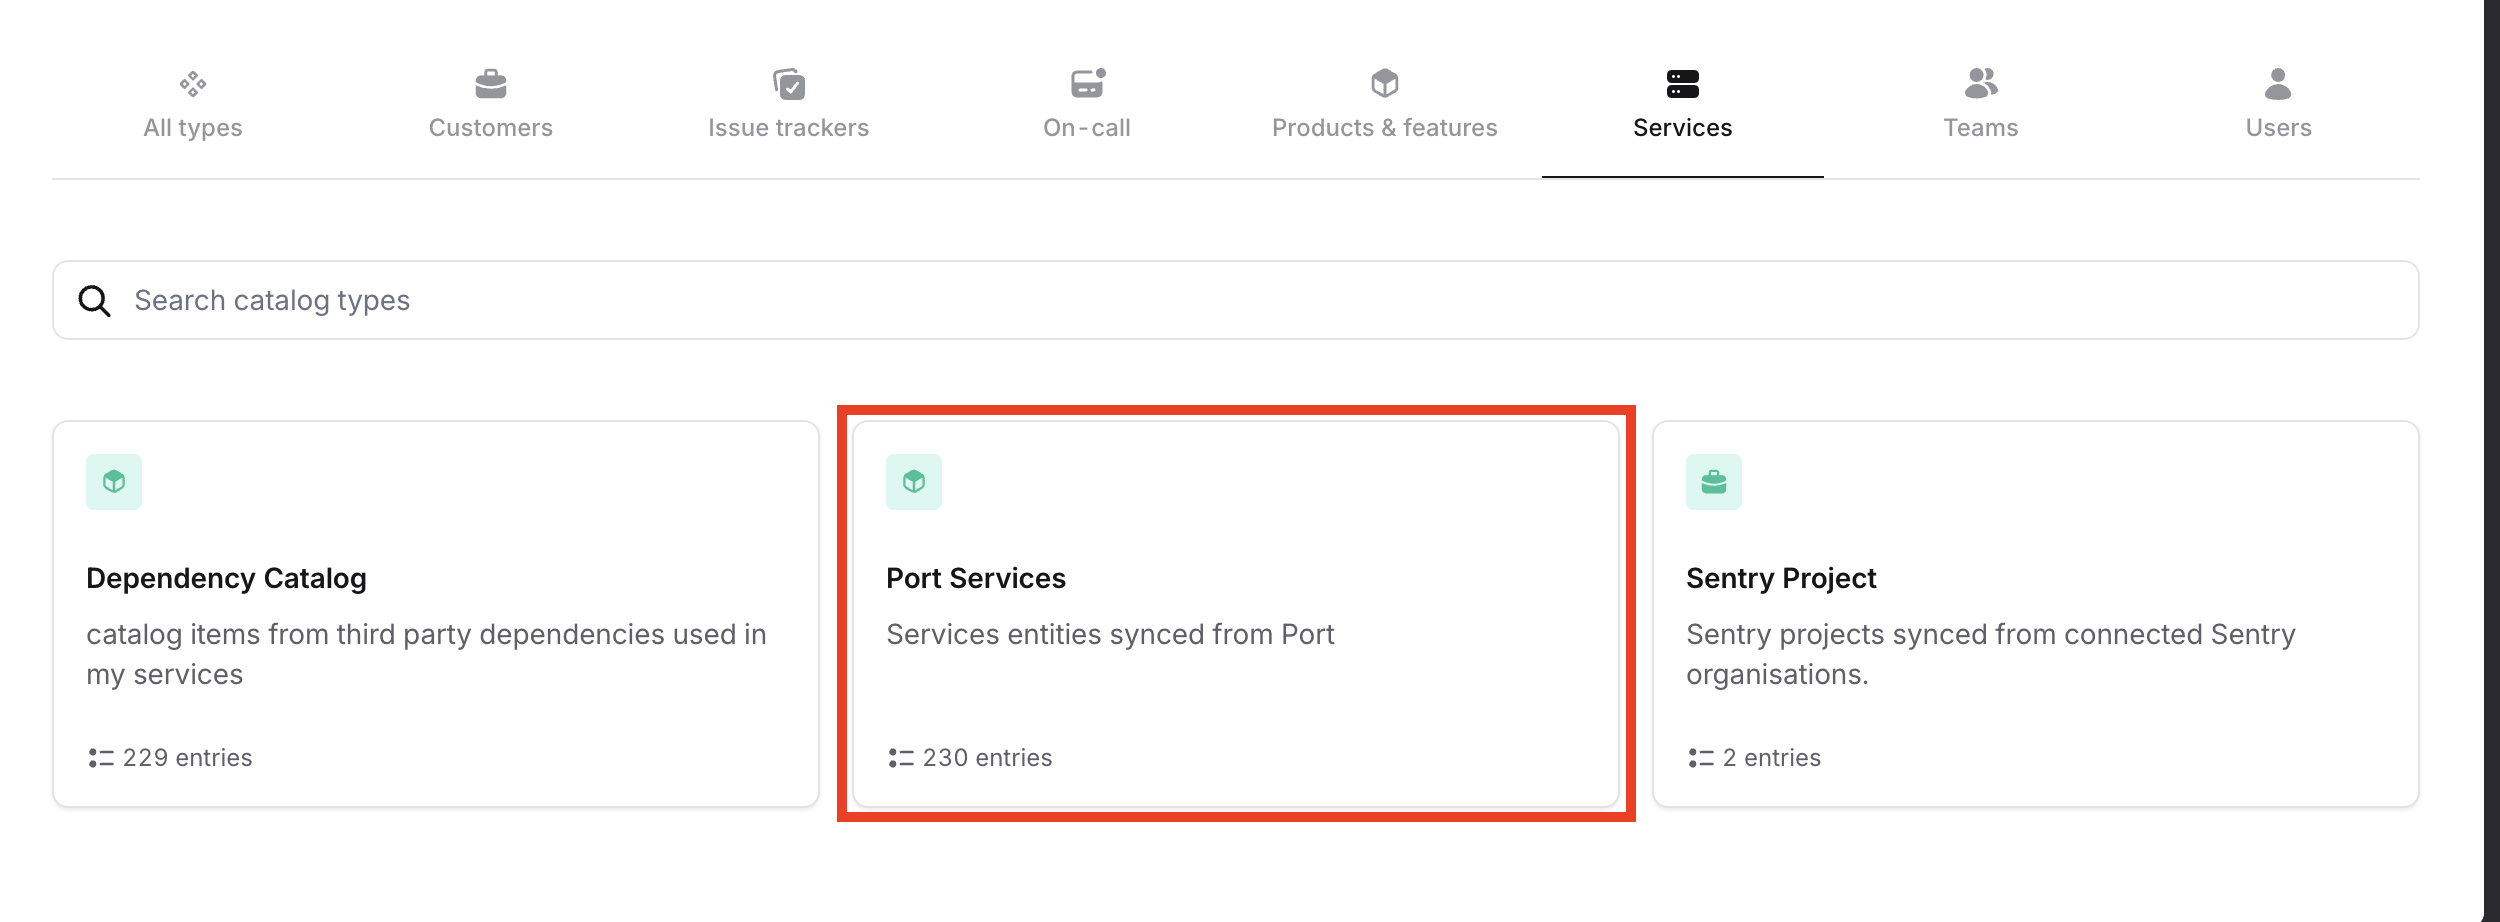
Port Servicescatalog type or any custom name you provided. -
You should now see the synced service entities from Port listed under this catalog type.
-
Once the GitHub workflow runs (either manually or on schedule), the service entities from Port will be automatically synced into your incident.io catalog, giving you improved visibility and context for managing incidents.
Limitations
Note that incident.io can currently ingest up to 50,000 catalog items. Keep this limit in mind when scaling your service catalog.